Purpose of the Project: To make a door opening / closing project by using a button module and servo motor with the Pinoo control card.
Duration: 2 lessons
Age Group: 9 years and older
Pinoo Set: Invention set, maker set and full set.
Benefits:
- Learns to code Pinoo control card.
- Learns to use button module.
- Learns to use servo motor.
- Algorithm building skill develops.
- Coding skill improves.
Materials to be Used: Mblock 3 program, Pinoo control card, button module, servo motor module.
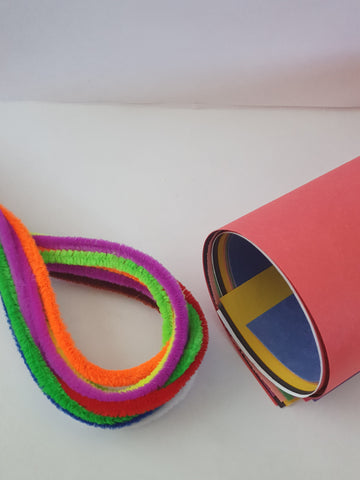
Materials Required for Design: Wood pieces, cardboard, colored cardboard, chenille, adhesive eva, silicone gun and silicone.
Project Preparation:
- For our project, let's start with designing a box. We will make use of wooden pieces and cardboard while designing the box. Let's create the floor with wooden pieces.
We place our first piece for the floor.
We glue the second piece next to the first piece.
3 pieces of square cardboard in the same size as the ground.
The same size piece of eva as 3 floors.
NOTE: EVA pieces are attached to the cardboard.
The pasted eva pieces are fixed to the edge of the floor with a silicone gun.
NOTE: Let's not neglect to stick the inner parts of the colored cardboards.
For the fourth edge, we get a piece of cardboard cut in the middle.
We also cut the piece of adhesive eva to attach to the piece of cardboard cut in the middle.
NOTE: We stick the EVA piece with cardboard.
We glue the fourth edge.
We cut and paste a piece of cardboard and eva in the space in the middle.
Tongue bar to combine the servo motor with the gate we made.
We divide the tongue stick into two equal parts.
We stick the servo motor on the inside of the cut.
NOTE: Some margin should be left for the servo motor to rotate freely.
You can stick a small piece to the tongue stick so that the door we will stick does not enter the interior.
We glue the door piece to the tongue bar so that it is slightly ahead.
2. Adding Pinoo extension:
From the Extensions tab, we click on the "Manage Extensions" option.
In the window that opens, we type "Pinoo" into the search engine and simply say download to the result. It was installed on our computer.
3. Connecting the Pinoo sensor board to the computer:
In Mblock 3, we click on the "Connect" tab on the upper left.
We click on the "Serial Port" section from the window that opens and select the "COM6" option from the page that opens.
NOTE: Since the port entries of each computer are different, the numbers next to COM text may change.
We click on the Cards tab.
We select the "Arduino Nano" card option used by the Pinoo sensor card from the window that opens.
We click on the Extensions tab.
In the window that opens, we select the extension "Pinoo" of the sensor card we use.
We click on the Connect tab.
We click on "Firmware Update" from the window that opens.
4.Coding part:
We run the servo motor under the "key is pressed" command to start it. Since the servo motor works between 0 and 180 degrees, we are trying both angles.
If the button is not pressed, the door will be closed, ie equal to zero and the servo motor angle will be "90", if the button module is pressed, the door will be open equal to one and the servo motor angle will be "150". We use the "wait a second" command to keep the door open for a while after the door is opened. We have to load our codes inside the card to run independently from the computer. For this;
Since there is nothing on the Pinoo control card that it can show on the dummy, we remove the "de" command and make a "Pinoo Program" that we will load at the beginning of the event.
We right click on the "Pinoo Program" event and click the "Upload to Arduino" option from the window that opens.
On the page that opens on the right, we click the "Upload to Arduino" button.
The loading page appears on the screen and loads.
5. Let's combine electronic parts with design.
IMPORTANT!! In coding, the button and buzzer module should be installed in the same place on the Pinoo control card if the port is coded.
We placed the servo motor at the design stage, and we attach the button module to the side of the door.
We place the Pinoo control board inside the box.
We run it with the help of batteries or power cords. The door is closed when the button module is not pressed.
Door is open when button module is pressed.
With Pinoo sets, children can make hundreds of projects with materials they can easily find in their homes.