
Windmill System with Pinoo
Purpose of the Project: To make a well system that lowers the bucket when the well is overfilled by using the Pinoo Control Card temperature-humidity sensor and DC motor.
Duration: 2 lessons
Age Group: 9 years and above
Pinoo Set: Full set.
Gains:
• Learns to code Pinoo control card.
• Learns to use temperature sensor.
• Learns to use DC motor.
• Improves the skill of setting up algorithms.
• Improves coding skill.


Project Preparation:
For our project, we first take black cardboard and brown felt.


Then we stick the DC motor to the tongue stick with the silicone gun as in the picture. Then we make a cut on one side of our mountain with the help of a utility knife and place it.
We place our propeller on the white part of the DC motor.

- Adding Pinoo extension:


In the window that opens, we type "Pinoo" into the search engine and simply say download to the result.
It was installed on our computer.
- Connecting the Pinoo sensor board to the computer:


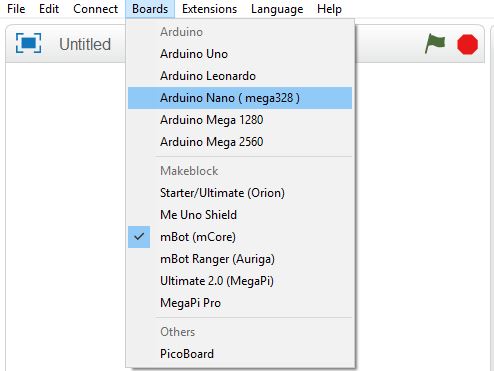
We click on the "Serial Port" section from the opened window and select the "COM6" option from the page that opens.
NOTE: Since the port entries of each computer are different, the numbers next to the COM text may change.


- Coding part:


First, we place our temperature-humidity sensor identification code under the "Pinoo Program" code to check whether our temperature-humidity sensor is working. Then we print our temperature-humidity sensor values to the serial port and upload it to Arduino.
Then we change the "recv encode mode" option to "capital state" at the bottom right of our mblock program. In this way, we see our temperature-humidity sensor values on the serial port. After uploading our codes to Arduino, let's not forget to reconnect from the program link connect section.

When the green flag is clicked, we cannot operate our temperature-humidity sensor under its code. Therefore, we are introducing our temperature-humidity sensor to our program with our code under the Pinoo Program code. Then, if the value of our temperature-humidity sensor, that is, the temperature in the environment, is greater than 29 degrees, the DC motor (windmill) will stop. If the temperature is lower than 29 degrees, we will start our windmill, that is, our DC motor.
In this way, we complete our code.

We right click on the "Pinoo Program" command and select the "Upload to Arduino" option in the window that opens.


