
Rope Railway with Pinoo
Purpose of the Project: To create a ropeway system with a joystick module and dc motor using the Pinoo Control Card.
Duration: 2 lessons
Age Group: 9 years old and above
Pinoo Set: Full set.
Benefits:
- Learns to code Pinoo control card
- Learns to code the joystick module.
- Dc engine learns to code.
- Improves the skill of setting up algorithms.
- Improves coding skill.
Materials to be Used: Mblock 3 program, Pinoo Control Card, Joystick Module, Dc engine, Wheel pulley (2 pieces), Connection Cable

Materials Required for Design: Cardboard, cardboard, silicone gun, scissors, utility knife, fine rope or fishing line, cable car miniature (4 pieces)

Project Preparation:

We cut the cardboard in the specified dimensions. We will repeat this process twice.
(front and back: surface 17 cm length-7.5 cm width, side: 17 cm height-2.5 cm width)

Paste the cut pieces and obtain a box with an open top and bottom.

We fix the motor in one of the boxes. We drill a small hole in the right or left part of the box to get the motor cable out, and we remove the motor cable from there.

We fix one of the reels on the top of the other box.

We attach the other reel to the end of the motor and cover the outside of the boxes with colored cardboard.

We create a colored cardboard backdrop. and we fix the boxes on the floor.

We thread a taut rope through two spools

We connect our ropeway miniatures.

We pay attention to the colors on the module for our joystick connection. We make our connection to the red-yellow input (number 9), which has the same colors on the Pinoo card.
For the motor connection, we attach the cable coming from the dc motor to the B1 / B2 input from the special inputs for the motor connection on the Pinoo card.
On the plane, we fix it with a silicone gun so that the inscriptions on the joystick are to the left (in a horizontal position).
Links should be:

Connection:
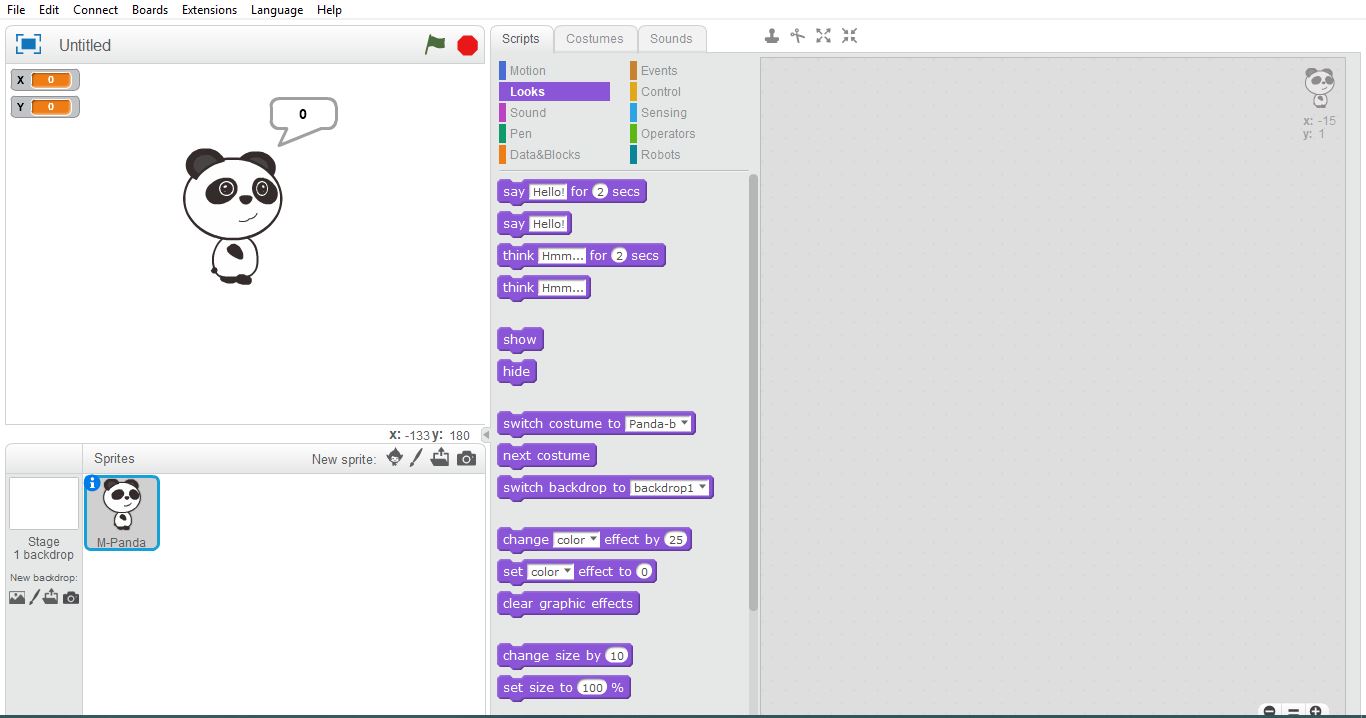
We will use mblock-3 application for the coding part.

Let's connect our Pinoo Control Card to the computer with the help of the connection cable and enter the Mblock3 application. Then, let's introduce our Pinoo Control Card to the computer. To do this, we first click on the serial port option from the Connect tab. Then we select COM3. (The number may differ depending on the computer and the port.)

After making the serial port connection, let's select the card we will use from the cards tab. We are working with Arduino Nano model.

In order to add the Pinoo extension to our computer, we click on the manage extensions option from the Extensions tab. In the window that opens, we write "Pinoo" in the search engine and click download to the result. It has been installed on our computer.

Click on the Pinoo option from the Extensions tab again. We will write our codes with the Pinoo extension.
Coding:

In the coding part, we get the code when the Green Flag is clicked from the Events menu to start the application.

We will manage the movements of the cable car according to the values received by the joystick module. Joystick module is a module that can generate values in x and y axes. In this project, we will use only the x-axis (horizontal position) of the module.
We will use variables to learn the values of the module. In the Data & Block tab, we create a variable named x.

We need to specify that the x variable we created is equal to the x coordinate of the joystick module. From the Robots tab, we place the code block related to the joystick in the value section.

In order to repeat the value reading operation continuously, we take the code block from the control tab with continuous repetition and place our codes in it.
In the upper left corner, we can observe the values of x. You can also observe the values by moving the joystick to the right and left.
 We will ensure the movement of the cable car with the values that the joystick takes on the x axis. In order to determine the threshold values of the movements, we need to determine the values that the joystick takes on the far right, stationary and leftmost.
• The values for the far right approach 1023. An average value of 700 was determined.
• Its steady state is approximately 500,
• For the far left, the values approach 0. An average value was determined as 300.
You can update these values according to your own project.
Now, let's create the necessary condition states for all these threshold values. From the Control tab, we take the if block and the less than block from the operations tab and create our conditional statement.

We want the motor to move forward if the condition is met. For this, we get the Pinoo Bot: Wheel right direction forward Speed 0 command from the robots tab. We change Wheel Right section to Left, Direction Back, Speed section to 255.

We do the same for the case above 700. We're changing the wheel travel forward here.
Since the values need to be checked continuously, we place the relevant code blocks in the continuous repeat block.

When the joystick is stationary, we want the swing to stop, that is, the motor not to run. We add the Wheel Left Direction Forward Speed 0 command to the upper part of the control blocks so that the motor does not move if any condition is not met.

After completing our codes, we check the operation of our project by clicking on the green flag. When we pull the joystick to the right, our cable car should go to the right, when we pull it to the left, it should go to the left.
If there is no problem in the operation of our project, we need to load the codes we have written into our card in order to operate it with power supply independent of the computer.
For this, we throw away the "Click on the green flag" code we used at the beginning and get the Pinoo Program code from the Robots tab.

Right click on the code and click on Upload to Arduino. (We work with Arduino as a board.)

We are waiting for the codes to be uploaded to the card. After the installation is complete, we close the window and disconnect the Pinoo Control Board connection cable from the computer.
Final Version of the Project:

We power our Pinoo Control board with the help of a 9v battery and a battery cap. We also turn the on / off button right next to the battery input to the on position.